

How Blacktail Construction & Restoration Works With Your Insurance Company to Get Repairs Made Fast
When your home has water damage, the last thing you want is…
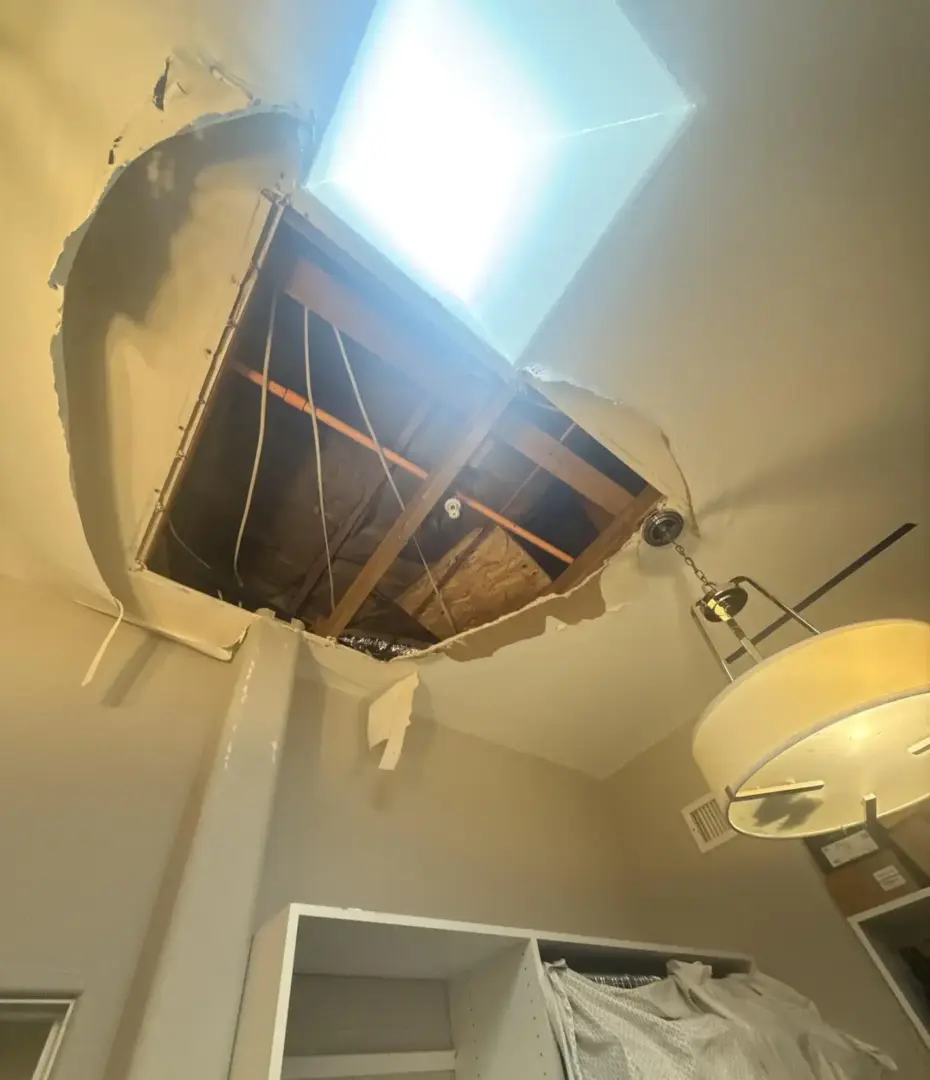
Water damage can feel overwhelming, especially when you are standing in your home trying to figure out what to do next. The good news is that the water damage restoration process follows a clear path, and when it is handled correctly, it can help protect your home from further damage, mold growth, and unnecessary repair costs.
If you are dealing with water damage in Scottsdale or the surrounding area, understanding the process can make the situation feel a lot less stressful. A professional water damage restoration company should not just remove the water — they should inspect the damage, dry the affected areas, check for hidden moisture, and help restore your home as safely and efficiently as possible.
Water damage restoration is the process of cleaning up, drying out, repairing, and restoring a home after water has entered places it should not be. This may happen after a burst pipe, roof leak, appliance failure, toilet overflow, slab leak, or storm damage.
The goal of water damage restoration is to stop the damage from spreading and return the property to a safe, livable condition. Depending on how severe the water intrusion is, the process may include water extraction, structural drying, mold prevention, demolition of damaged materials, and reconstruction.
The first part of the water damage restoration process is a full inspection of the affected area. A restoration professional will look at where the water came from, how far it spread, and what materials were damaged.
This step matters because water often travels farther than homeowners expect. What looks like a small problem on the surface may have already affected drywall, insulation, flooring, cabinets, or framing behind the walls. A proper damage assessment helps determine the full scope of the issue before work begins.
During this stage, the restoration team may also use moisture detection tools to find hidden water that cannot be seen by eye. This helps prevent future problems like mold growth or structural deterioration.
Once the damage is assessed, the next step is to remove standing water as quickly as possible. This is usually done with professional extraction equipment that pulls water out of carpets, flooring, and other materials.
Fast water removal is important because the longer water sits, the more damage it causes. It can soak deeper into building materials, weaken surfaces, and create the right environment for mold. In many cases, this step is one of the most urgent parts of the entire restoration process.
If the water damage is severe, the team may also remove unsalvageable materials that cannot be dried or restored safely.
After the visible water is removed, the home still has to be dried thoroughly. This is one of the most important parts of the water damage restoration process because hidden moisture is often what causes long-term problems.
Professional drying equipment may include air movers, dehumidifiers, and specialty drying tools depending on the materials affected. The goal is to remove moisture from the air, walls, floors, and other building materials until the area reaches safe drying levels.
A common mistake homeowners make is assuming the job is finished once the standing water is gone. In reality, the drying phase is where a lot of the real protection happens. If moisture is left behind, the home may later develop mold, odors, warped flooring, or weakened drywall.
After drying begins, the affected area usually needs to be cleaned and sanitized. Water damage can leave behind dirt, bacteria, and other contaminants depending on the source of the water.
For example, clean water from a supply line is very different from contaminated water from an overflowing toilet or sewer backup. The type of water determines how much cleaning is needed and what safety steps should be taken.
This part of the restoration process helps protect the health of the people living in the home and prepares the space for repairs. In some cases, antimicrobial treatments may also be used if there is a risk of mold growth.
Once the home is dry and clean, the final step is repairing the damaged areas. This may include replacing drywall, baseboards, insulation, flooring, cabinetry, or other materials that could not be saved.
Some water damage jobs are minor and only require light repairs. Others may involve major reconstruction if the damage was severe or left untreated for too long. The repair stage is what helps bring the property back to its original condition.
A good restoration company should explain what needs to be fixed, what can be saved, and what the timeline will look like before the work starts. That kind of clarity matters when you are already dealing with a stressful situation.

When your home has water damage, the last thing you want is…
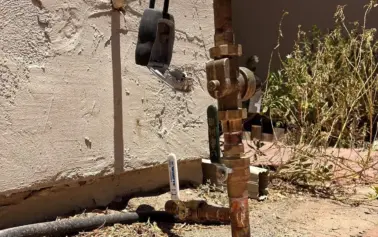
Water emergencies can happen at any time, including late at night when…
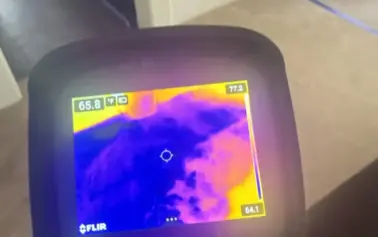
When a home has water damage, one of the first things a…
Licensed, Bonded, and Insured
When disaster hits, you need more than a service — you need a team you can trust. Our Scottsdale, AZ restoration experts respond quickly to water, fire, and smoke damage, delivering skilled repairs and compassionate support to restore your property and your peace of mind.